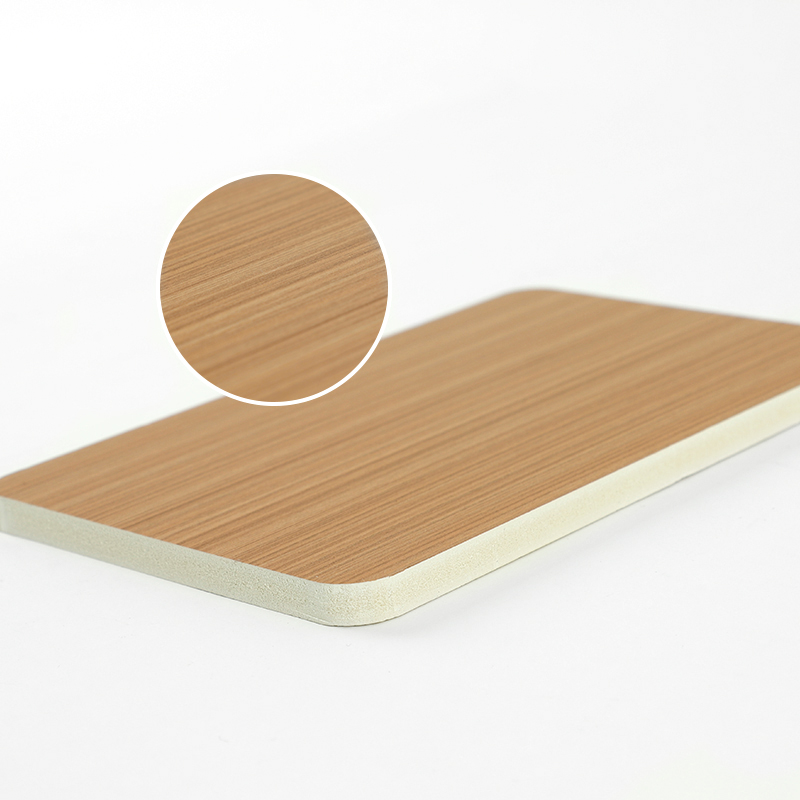
Vinyl plank flooring is a popular synthetic flooring material designed to mimic the appearance of natural wood or stone while offering enhanced durability, affordability, and ease of installation. It consists of multiple layers, including a wear layer, printed design layer, core layer, and backing layer, which together provide water resistance, stability, and comfort underfoot. Available in glue-down, loose-lay, and click-lock formats, vinyl plank flooring is widely used in both residential and commercial spaces due to its versatility and low maintenance requirements.
In recent years, vinyl plank flooring has gained significant traction in the home improvement market, driven by trends favoring DIY renovations and cost-effective yet stylish flooring solutions. With advancements in manufacturing technology, modern vinyl plank flooring offers improved realism, texture, and performance, making it a competitive alternative to hardwood and laminate options.
Removing Vinyl Plank Flooring
One of the key advantages of vinyl plank flooring, particularly the floating or click-lock variety, is its potential for removal and reuse. However, the success of this process largely depends on the installation method and the condition of the planks after removal.
Step-by-Step Removal Process
Prepare the Area Clear the room of furniture and obstacles. Ensure the subfloor is clean and dry before starting the removal process.
Start at an Edge For click-lock vinyl plank flooring, begin at a corner or along a wall. Gently lift the edge of the first plank using a putty knife or pry tool. Avoid excessive force to prevent damage to the locking mechanism.
Disengage Planks One by One Work systematically, disengaging each plank by lifting at an angle and sliding it out of the adjacent plank’s groove. Patience is crucial to preserving the integrity of each plank.
Label and Organize If you plan to reinstall the flooring, label each plank or group them by row to simplify reinstallation. This step is especially helpful if the planks vary in pattern or have directional designs.
Inspect for Damage After removal, inspect each plank for signs of wear, bending, or damage to the locking edges. Damaged planks may not be suitable for reuse.
Challenges During Removal
While removing vinyl plank flooring is generally straightforward, several challenges can arise:
Adhesive Residue: Glue-down vinyl planks may leave behind adhesive that is difficult to remove, potentially damaging the planks or subfloor.
Warping or Bending: Planks exposed to moisture or extreme temperatures may warp, making them difficult to reinstall.
Wear Layer Damage: Repeated handling during removal can scratch or wear down the protective top layer, reducing the plank’s lifespan.
Reinstalling Vinyl Plank Flooring
Reinstalling vinyl plank flooring is feasible if the planks remain in good condition and the locking mechanisms are intact. This process is similar to the initial installation but requires extra care to ensure a seamless fit.
Preparation for Reinstallation
Subfloor Inspection Ensure the subfloor is clean, level, and free of debris or moisture. Any imperfections can affect the new installation’s stability and appearance.
Acclimate the Planks Allow the vinyl plank flooring to acclimate to the room’s temperature and humidity for at least 48 hours before reinstallation. This step minimizes the risk of expansion or contraction after installation.
Plan the Layout Decide on the starting point and direction of the planks. Consider the room’s shape and lighting to achieve the most aesthetically pleasing result.
Reinstallation Steps
Start with the First Row Begin installation along the longest wall, leaving a small expansion gap (typically 1/4 inch) between the planks and the wall. Use spacers to maintain consistent gaps.
Click Planks into Place For click-lock vinyl plank flooring, angle each new plank to engage the locking mechanism with the previous plank, then gently press down until it snaps into place. Use a rubber mallet if necessary to ensure a tight fit.
Continue Row by Row Stagger the seams between rows for a more stable and visually appealing layout. Trim the last plank in each row as needed to fit the space.
Finish with Transition Molding Once all planks are installed, remove the spacers and install transition molding along the edges to cover the expansion gaps and provide a polished look.
Potential Challenges in Removing and Reinstalling Vinyl Plank Flooring
While vinyl plank flooring is designed for durability and ease of use, several challenges can complicate the removal and reinstallation process. Understanding these challenges can help you plan accordingly and achieve the best results.
1. Damage to Locking Mechanisms
The interlocking edges of click-lock vinyl plank flooring are delicate and can be damaged during removal if not handled carefully. Once damaged, the planks may not fit securely during reinstallation, leading to gaps or instability.
2. Adhesive Residue
Glue-down vinyl plank flooring presents a unique challenge due to the strong adhesive used during installation. Removing the adhesive without damaging the planks or subfloor requires specialized tools and solvents, increasing the time and effort involved.
3. Warping and Bending
Exposure to moisture, temperature fluctuations, or improper storage can cause vinyl plank flooring to warp or bend. Warped planks are difficult to reinstall and may not lie flat, compromising the floor’s appearance and performance.
4. Wear Layer Degradation
The wear layer of vinyl plank flooring protects against scratches, stains, and fading. However, repeated handling during removal and reinstallation can compromise this layer, reducing the floor’s longevity and aesthetic appeal.
5. Pattern and Color Matching
If the vinyl plank flooring has been in use for several years, finding matching planks to replace damaged ones can be challenging. Manufacturers may discontinue certain styles or colors, making it difficult to achieve a uniform appearance.
Product Comparison: Vinyl Plank Flooring Options
To help you choose the best vinyl plank flooring for your needs, here’s a comparison of the most common types available:
Feature
Traditional Vinyl Plank
Rigid Core (SPC/WPC)
Glue-Down Vinyl Plank
Installation Method
Click-lock or loose-lay
Click-lock or loose-lay
Adhesive
Water Resistance
Water-resistant
Waterproof
Water-resistant
Durability
Moderate
High
High
Subfloor Requirements
Must be level and clean
Must be level and clean
Must be perfectly smooth
Reusability
High (if undamaged)
High (if undamaged)
Low (due to adhesive)
Best For
Residential use
High-traffic areas
Commercial use
Conclusion
Vinyl plank flooring is a versatile and durable flooring option that can often be removed and reinstalled, provided the planks remain in good condition. Understanding the removal and reinstallation process, as well as the potential challenges involved, can help you achieve a successful outcome. By staying informed about the latest trends and product innovations, you can make the most of your vinyl plank flooring investment and enjoy a beautiful, long-lasting floor for years to come.
For more information on high-quality vinyl plank flooring options, visit Demax Flooring, where you’ll find a wide selection of products to suit your needs.