Rolled sheet vinyl is one of the fastest ways to refresh a room with a water-resistant, easy-clean surface—and it often costs less than tile or hardwood. Done right, Vinyl Roll Flooring can look seamless and professional because it installs in wide sheets with fewer joints. Done wrong, it can bubble, wrinkle, or lift at the edges. This guide walks you through a practical, DIY-friendly process to lay Vinyl Roll Flooring with clean cuts, solid bonding, and long-lasting results.
Vinyl Roll Flooring Basics Before You Start
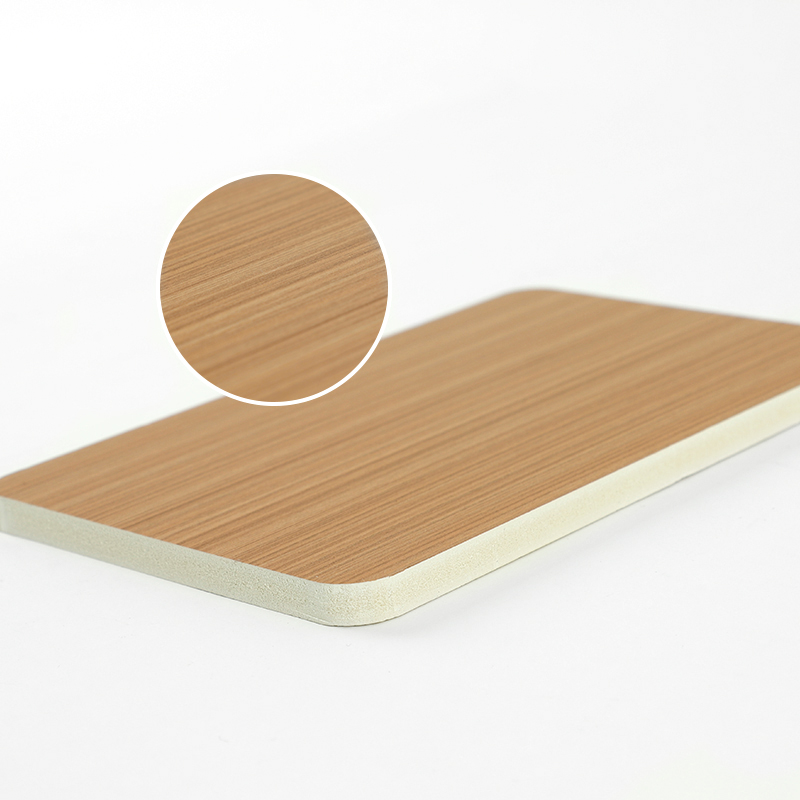
Vinyl Roll Flooring (also called rolled vinyl or sheet vinyl) is typically sold in wide rolls designed to cover large areas with minimal seams. That “big sheet” advantage is also why prep and fitting matter so much—any lump, crack, or dust line can show through as the vinyl settles.
Flexible material: Cuts easily, but it also follows the shape of the subfloor—good and bad.
Different backings: Some products are intended for loose-lay or modified loose-lay, while others require adhesive over the full surface. Always match your method to the product instructions.
Tools and Materials Checklist
Having the right tools prevents rushed cuts and messy seams. Here’s a realistic list for a clean Vinyl Roll Flooring installation:
Measuring tape, pencil/marker, chalk line
Metal straightedge or long level (for controlled cuts)
Utility knife with plenty of fresh blades (hook blades are helpful for vinyl)
Floor scraper, putty knife, and vacuum (subfloor cleanup)
Patch/leveling compound (to flatten dips, seams, and divots)
Adhesive (pressure-sensitive or permanent, if required by your method)
Notched trowel (size must match the adhesive recommendation)
Hand roller or 75–100 lb floor roller (best for larger rooms)
Seam sealer (if you will have seams and the system specifies it)
Transitions/thresholds and trim materials as needed
Measure, Plan the Layout, and Order the Right Amount
Accurate measuring is the easiest way to avoid wasted material. When ordering Vinyl Roll Flooring, measure the longest length and widest width of the room, including alcoves, closets, and door areas. Then add extra for trimming and pattern alignment.
Add allowance: Add at least 2–4 inches (50–100 mm) on each side for trimming. Add more if the room is irregular or the pattern needs matching.
Plan the “best view”: Decide which direction you want the pattern to run. In many rooms, running the pattern along the longest wall looks more natural.
Think about seams: If you must seam, place seams away from high-traffic lines and wet zones whenever possible.
Subfloor Prep: The Make-or-Break Step
The number one reason Vinyl Roll Flooring looks bad after installation is poor subfloor prep. Vinyl doesn’t hide bumps—it highlights them. Your goal is a surface that’s flat, smooth, clean, and dry.
Remove bumps and “telegraphing” risks
Scrape off old adhesive ridges, paint drips, and drywall mud.
Set fasteners flush; replace loose boards or squeaky panels.
Use patch/leveling compound to fill low spots, gaps, and seams.
Check moisture and stability
If you’re installing over concrete, moisture issues can cause adhesive failure and edge curl. Make sure the slab is dry and the space is conditioned. If your room has frequent water exposure, plan for a bonding method that matches the product spec and usage.
Clean like it matters (because it does)
Vacuum thoroughly and wipe the surface if needed. Dust and grit under Vinyl Roll Flooring can create visible “pimples” and prevent full adhesion.
Choose the Right Installation Method
There isn’t one universal “best” way to lay Vinyl Roll Flooring. The right method depends on the product type, room size, seam count, and how the room will be used (foot traffic, rolling loads, moisture). Below are the common approaches, from simplest to most secure.
Loose-Lay
Loose-lay Vinyl Roll Flooring relies on the sheet’s weight and perimeter finishing to keep it in place. It’s typically limited to certain product types and smaller areas. It can work well when the floor plan is simple and the vinyl is designed for it.
Modified Loose-Lay (Tape-Assisted)
This method uses acrylic double-sided tape under seams and specific zones (often around the perimeter or key stress points). It’s a popular compromise when you want easier future removal but still need seam stability.
Perimeter Bond
Perimeter bond uses adhesive near the walls and at transitions while leaving the field less bonded. It can be useful in low-stress residential areas, but it’s not ideal for heavy rolling loads or rooms where constant moisture or temperature swings are common.
Full-Spread Glue-Down
Full-spread glue-down offers the most stable, professional result for large rooms, multi-seam layouts, heavy traffic, and spaces with rolling equipment. If you want a long-lasting finish with minimal movement, full-spread is often the safest choice for Vinyl Roll Flooring.
Step-by-Step: How To Lay Rolled Vinyl Flooring
Below is a practical workflow that fits most DIY installations while staying aligned with how professionals approach Vinyl Roll Flooring: dry fit first, cut carefully, bond correctly, then roll and finish.
Dry Fit and Let the Sheet Relax
Bring the Vinyl Roll Flooring into the room and let it acclimate in a conditioned space. Unroll it and allow it to relax—this reduces curling and helps the material settle closer to its final size. Avoid installing vinyl straight from a cold garage or a hot truck.
Position the Sheet and Rough Cut Oversize
Lay the sheet in place, aligning it with your layout plan. Leave extra material up the walls and at the edges. Use a straightedge to make controlled, clean cuts and keep the blade fresh to prevent tearing.
Tip: Cut slightly large first, then “sneak up” on the final line with multiple light passes.
Tip: Keep the sheet flat as you cut—wrinkles while cutting often become permanent fit problems later.
Handle Corners Without Panic
Corners are where most DIY installs go wrong. The goal is to remove material only when you’re sure you need to. For inside corners, you’ll often need a small relief cut to allow the vinyl to settle. For outside corners, measure twice, cut conservatively, and refine gradually.
Cut Around Door Jambs and Obstacles
Door jambs and trim can make Vinyl Roll Flooring look either “pro” or “patchy.” A cleaner approach is to undercut the jamb so the vinyl slides underneath for a tight finish. If undercutting isn’t an option, trace carefully and cut slowly.
Create a Template (Optional but Extremely Accurate)
If your room has lots of angles, pipes, or tight corners (common in bathrooms), a template can reduce costly mistakes. You can build a simple pattern using paper or thin sheet material, transfer it to the vinyl, and test-fit before final cuts.
Bond the Floor Using Your Chosen Method
Once you’re satisfied with the fit, it’s time to secure the Vinyl Roll Flooring. Follow the method your product supports.
Loose-Lay / Modified Loose-Lay
For loose-lay, ensure the sheet lies flat with no tension. Use transitions and trim to secure edges without forcing the vinyl.
For modified loose-lay, apply tape in the required locations (commonly at seams and stress zones). Press the vinyl firmly into the tape and avoid stretching the sheet.
Perimeter Bond
Fold the vinyl back from the edges, apply adhesive to the perimeter zone, then lay the vinyl back down smoothly.
Work in sections so adhesive doesn’t dry before the vinyl is placed.
Full-Spread Glue-Down (Most Secure)
For full-spread installation, fold half the sheet back (lengthwise is often easiest). Spread adhesive with the correct notched trowel and observe the adhesive’s recommended “open time” and tack stage. Then lay the vinyl back down slowly, smoothing as you go.
Work from the center outward to push air out, not in.
Avoid dragging the sheet through wet adhesive—lift and place gently.
Repeat for the second half.
Roll the Floor and Remove Air
Rolling is not optional if you want a professional result—especially with glue-down Vinyl Roll Flooring. Roll from the center toward the edges to eliminate trapped air and ensure full adhesive contact. If you don’t have a heavy roller, use a hand roller with extra patience and pressure.
Seal Seams (If You Have Any)
If your installation includes seams, treat them as a system: accurate cuts, tight alignment, and the correct seam sealer if specified. Seams are the most vulnerable area for water intrusion and edge lift, so take your time and keep the work clean.
Finish Edges, Install Transitions, and Reinstall Trim
Trim the perimeter cleanly, install transitions at doorways, and reinstall baseboards or quarter-round if you removed them. The goal is to secure edges without pinching or forcing the vinyl to buckle.
Common Problems (And How to Fix Them)
Even careful DIYers can run into issues. Here are the most common Vinyl Roll Flooring problems and the practical fixes.
Bubbles or Blisters
Common causes: Dust on the subfloor, adhesive applied too thick/thin, laying the sheet too early/late relative to adhesive tack, or not rolling properly.
Fix approach: Small bubbles may settle if adhesive is pressure-sensitive and re-rolled in time. Larger bubbles may require lifting and re-bonding (if possible) or carefully venting and re-rolling depending on the system
Seam Peaking or Separation
Common causes: Poor seam alignment, movement from inadequate bond, or missing seam sealer in wet areas.
Fix approach: Re-align/repair seams early if possible; use the specified seam sealing method and keep water off seams during curing.
Visible Lines and “Telegraphing”
Common causes: Subfloor seams, nail heads, adhesive ridges, or debris.
Fix approach: Prevention is best—patch and sand before installation. Once installed, telegraphing is hard to fully hide.
Post-Installation Care for Vinyl Roll Flooring
Give the floor time to set so your hard work doesn’t shift or imprint. The best care depends on your adhesive and system, but these general habits help protect Vinyl Roll Flooring right away:
Limit heavy traffic: Avoid moving heavy furniture across the floor immediately.
Use protection: Add felt pads and avoid sharp furniture feet.
Wait before wet cleaning: If adhesive was used, delay mopping until the bond has stabilized based on product guidance.
Keep grit away: Use mats and regular sweeping to prevent scratching and dulling.
DIY vs Hiring a Pro: When It’s Worth Paying
Many homeowners can install Vinyl Roll Flooring successfully, especially in square rooms with few obstacles. But consider a professional installer if:
The room has many corners, built-ins, pipes, or tight jamb cuts
You need multiple seams with pattern matching
The space will see heavy rolling loads (wheelchairs, carts, office chairs)
You want maximum warranty confidence and long-term stability
FAQ
Can you lay Vinyl Roll Flooring without glue?
Yes, some Vinyl Roll Flooring products are designed for loose-lay or modified loose-lay installation. However, many floors—especially larger rooms or heavy-traffic spaces—perform best with perimeter bonding or full-spread adhesive. Always match the method to the product type and room conditions.
How long should rolled vinyl acclimate before installation?
Acclimation time varies by product and conditions, but the practical goal is to let Vinyl Roll Flooring relax flat in a conditioned room so it cuts accurately and doesn’t fight you during fitting.
How do you prevent bubbles in Vinyl Roll Flooring?
Prevent bubbles by preparing a smooth, clean subfloor, using the correct adhesive and timing, laying the sheet gently without dragging, and rolling thoroughly from the center outward.
Do I need seam sealer?
If your installation includes seams, a seam sealing system may be required or strongly recommended to protect against moisture and edge lifting—especially in kitchens, baths, and laundry rooms. Follow the product system guidance for best results.
What Different Sources Say About Vinyl Roll Flooring
Lowe’s guidance: Focuses on careful measuring, dry-fitting, and controlled trimming (especially at corners) to achieve a clean perimeter fit.
Mr. Handyman perspective: Emphasizes a step-by-step workflow—prep, fit, bond, trim, and finish—highlighting neat edges and practical DIY execution.
FloorExpert / manufacturer-style instructions: Stresses that the correct method depends on the product system, including options like modified loose-lay with acrylic tape at seams or full-spread adhesive when needed.
Nielsen Bros Flooring approach: Leans into a durable glue-down process with methodical adhesive application, careful placement, and rolling for strong contact.
Reddit Flooring community: Notes that “consensus” varies—installers and DIYers debate loose-lay vs glue-down, but most agree the product spec and room conditions should decide.
The Spruce style overview: Breaks the project into understandable phases and clarifies the difference between loose-lay and glue-down routes for homeowners.
Family Handyman method: Often favors pattern/template accuracy to reduce cutting mistakes, especially in smaller rooms with many obstacles.
This Old House technique: Highlights slow, controlled placement and proper rolling to avoid trapped air and improve long-term bonding.
Manufacturer instructions like Beaulieu: Commonly indicate loose-lay may suit limited scenarios, while larger areas, seams, or heavy rolling loads typically call for full-spread adhesion.